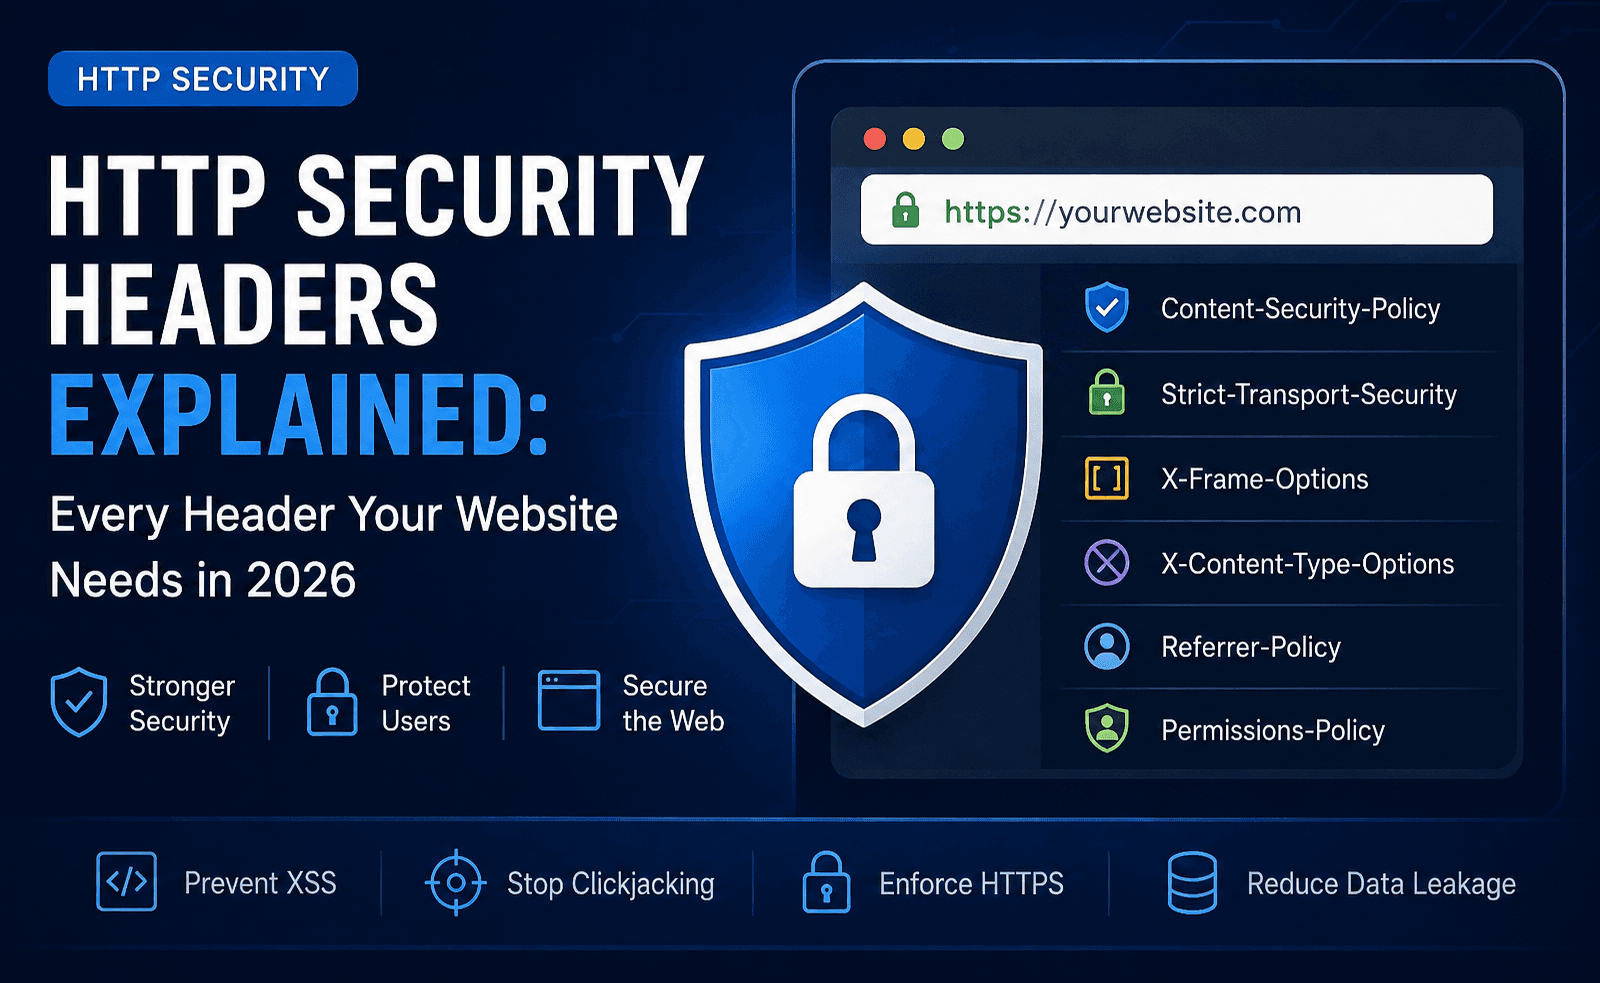
How to Add a Content Security Policy (CSP) in a Next.js App
Table of Contents
What is a Content Security Policy (CSP)?
A Content Security Policy (CSP) is a security feature that helps prevent attacks such as Cross-Site Scripting (XSS) and data injection attacks by specifying which resources a web page is allowed to load. By implementing CSP, you control the sources from which content can be loaded, thereby significantly improving the security posture of your web application.
Why Use a CSP in Your Next.js App?
Next.js is a popular framework for building React applications. While it provides excellent features for performance and ease of development, securing your application is equally important. By adding a CSP to your Next.js application, you help:
Minimize the risks of XSS attacks.
Safeguard user data.
Improve site integrity.
Comply with security standards.
A well-structured CSP can significantly reduce potential vulnerabilities in your web application.
How to Add a Content Security Policy (CSP) in a Next.js App
Adding a Content Security Policy in a Next.js application is a straightforward process. Follow the steps below to secure your app effectively.
Step 1: Define Your CSP
First, you need to define your Content Security Policy. Below is a sample CSP that restricts loading resources only from defined sources:
const ContentSecurityPolicy = `
  default-src 'self';
  script-src 'self' https://cdn.jsdelivr.net;
  style-src 'self' https://fonts.googleapis.com 'unsafe-inline';
  img-src 'self' data:;
  font-src 'self' https://fonts.gstatic.com;
  connect-src 'self';
  frame-src 'none';
`;
In this CSP:
default-src 'self': This directive allows loading content only from the same origin.
script-src: This specifies the allowed sources for scripts, including a CDN.
style-src: This directive allows loading styles from specific sources, including Google Fonts.
img-src: This controls where images can be loaded from.
font-src: This allows loading fonts from specified sources.
connect-src: This restricts where connections can be made.
frame-src 'none': This prevents the page from being framed, mitigating clickjacking attacks.
Step 2: Update next.config.js
Next, you need to modify your next.config.js file to include your CSP.
Open your
next.config.js.Add the following code snippet:
// next.config.js

const ContentSecurityPolicy = `
  default-src 'self';
  script-src 'self' https://cdn.jsdelivr.net;
  style-src 'self' https://fonts.googleapis.com 'unsafe-inline';
  img-src 'self' data:;
  font-src 'self' https://fonts.gstatic.com;
  connect-src 'self';
  frame-src 'none';
`;

module.exports = {
  async headers() {
    return [
      {
        source: '/(.*)', // Applies to all routes
        headers: [
          {
            key: 'Content-Security-Policy',
            value: ContentSecurityPolicy.replace(/\n/g, ''), // Must be a single line
          },
        ],
      },
    ];
  },
};
This adds the CSP header to all routes of your app, ensuring a consistent security posture throughout.
Testing Your Content Security Policy
After implementation, testing is key. Here are two ways to verify your CSP is working:
Browser DevTools: Open Developer Tools → go to the Console tab. If any violations occur, they’ll be reported there.
CSP Evaluation Tools:
These tools help you validate the correctness and strength of your CSP and other HTTP security headers.
Common CSP Directives Explained
| Directive | Description |
|---|---|
default-src |
Fallback for all unspecified resource types. Usually 'self'. |
script-src |
Controls from where JavaScript can be loaded. |
style-src |
Controls from where stylesheets and inline styles can be loaded. |
img-src |
Specifies valid image sources. |
font-src |
Defines which font providers are trusted. |
connect-src |
Controls which URLs the app can connect to (e.g., APIs, WebSockets). |
frame-src |
Restricts the sources that can be embedded using <iframe>. |
Conclusion
Adding a Content Security Policy to your Next.js app is a simple but powerful step toward stronger frontend security.
To recap:
Define your policy.
Add it via
next.config.js.Test it using browser tools and online scanners.
For a deeper dive into web security headers and CSP, explore: